Trong bài viết này mình sẽ hướng dẫn sử dụng ESP8266 Spiff để đọc ghi dữ liệu vào file. Ta sẽ tạo ra một file mới bên trong flash của ESP8266 sau đó ghi nội dung vào, đọc nội dung ra và thêm mới nội dung trong file sẵn có
Chuẩn bị
Phần cứng
- NodeMCU/ESP8266
Phần mềm
- Arduino IDE
Mount system
Đầu tiên chúng ta sẽ tìm hiểu cách mount SPIFFS file sytem. Mình tập trung đi vào các nên lý thuyết về SPIFFS sẽ được bỏ qua. Nếu bạn muốn tìm hiểu có thể xem tại đây và đây.
Chương trình
Để sử dụng được ta cần thêm thư viện FS.h. Thư viện này sẽ bao gồm các hàm để ta có thể mount file system. Sau đó là mở serial port với baudrate là 115200
#include <FS.h>
Serial.begin(115200);
Sau đó ta cần tạo ra biến để tương tác với hệ thống và kiểm tra thành công hay thất bại như sau
bool success = SPIFFS.begin();
if(success){
    Serial.println("File system mounted with success");
}else{
    Serial.println("Error mounting the file system");
}
Chương trình full, ta build và nạp xuống ESP
#include <FS.h>

void setup() {

  Serial.begin(115200);

  bool success = SPIFFS.begin();

  if(success){
    Serial.println("File system mounted with success");
  }else{
    Serial.println("Error mounting the file system");
  }
}

void loop() {}
Kết quả
Ta sẽ có kết quả như hình
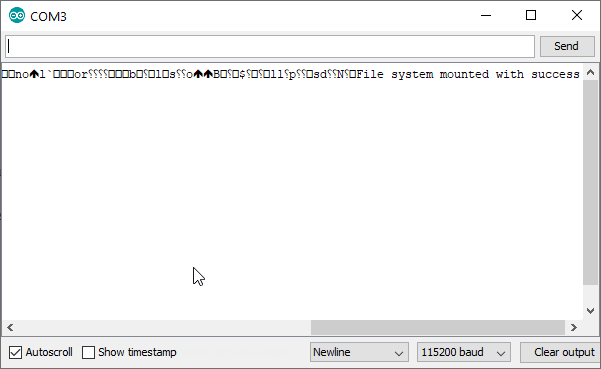
Lưu ý nếu hiện thông báo error nghĩa là trong lúc build chương trình bạn chưa chọn Flash size là SPIFFS, do đó ta có thể chỉnh lại thành 4M(1M SPIFFS)
Ghi file
Ta tận dụng các bước khai báo như ở trên, ở đây có chỗ khác là đường dẫn của file input trong SPIFFS.open, với file có tên "file.txt", đường dẫn của nó sẽ là "/file.txt", và ghi file tương ứng với mode là w, nếu file này chưa có trước đó thì nó sẽ được tạo mới. Mọi người có thể tham khảo thêm tại link sau
File file = SPIFFS.open("/file.txt", "w");
if (!file) {
    Serial.println("Error opening file for writing");
    return;
}
Để viết nội dung vào file thì ta có thể sử dụng method print và đưa vào nội dung mà ta muốn ghi. Sau khi ghi xong thì ta dùng close để đóng file lại
int bytesWritten = file.print("TEST SPIFFS");

if (bytesWritten > 0) {
    Serial.println("File was written");
    Serial.println(bytesWritten);

} else {
    Serial.println("File write failed");
}
file.close();
Chương trình full
#include <FS.h>

void setup() {

  Serial.begin(115200);
  Serial.println();

  bool success = SPIFFS.begin();

  if (success) {
    Serial.println("File system mounted with success");
  } else {
    Serial.println("Error mounting the file system");
    return;
  }

  File file = SPIFFS.open("/file.txt", "w");

  if (!file) {
    Serial.println("Error opening file for writing");
    return;
  }

  int bytesWritten = file.print("TEST SPIFFS");

  if (bytesWritten > 0) {
    Serial.println("File was written");
    Serial.println(bytesWritten);

  } else {
    Serial.println("File write failed");
  }

  file.close();

}

void loop() {}
Kết quả
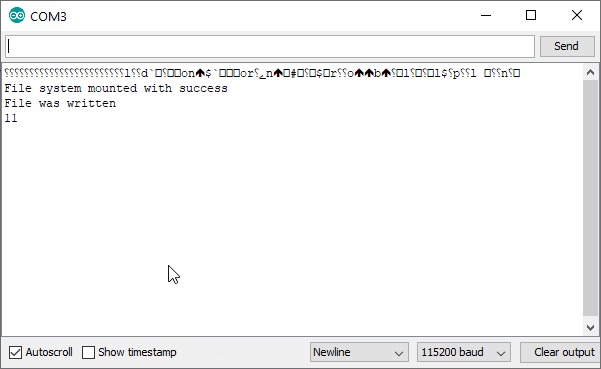
Thông báo ghi file thành công và 11 ở đây là 11 byte được ghi vào trong file
Đọc file
Chương trình tương tự như write file ở phần đầu, sau khi write xuống thì ta sẽ đọc lên với lệnh sau, ở đây có mode mới là mode read r
File file2 = SPIFFS.open("/file.txt", "r");

if (!file2) {
    Serial.println("Failed to open file for reading");
    return;
}
Chương trình full
#include <FS.h>
void setup() {
Serial.begin(115200);
Serial.println();
bool success = SPIFFS.begin();
if (!success) {
Serial.println("Error mounting the file system");
return;
}
File file = SPIFFS.open("/file.txt", "w");
if (!file) {
Serial.println("Error opening file for writing");
return;
}
int bytesWritten = file.print("TEST SPIFFS");
if (bytesWritten == 0) {
Serial.println("File write failed");
return;
}
file.close();
File file2 = SPIFFS.open("/file.txt", "r");
if (!file2) {
Serial.println("Failed to open file for reading");
return;
}
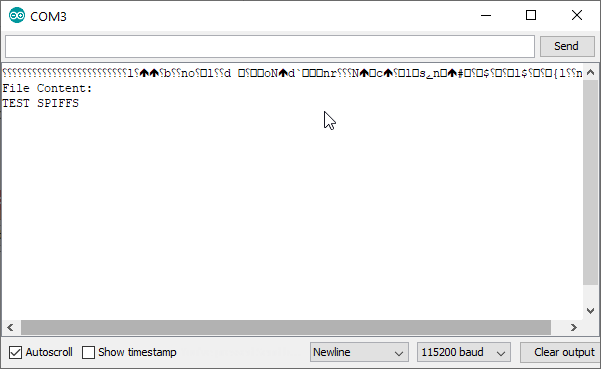
Serial.println("File Content:");
while (file2.available()) {
Serial.write(file2.read());
}
file2.close();
}
void loop() {}Kết quả
Thêm nội dung vào trong file
Nếu ta muốn add thêm nội dung tiếp theo vào trong file thì làm thế nào, cách sau đây sẽ giúp các bạn, đầu tiên ta sẽ thực hiện ghi dòng ORIGINAL FILE LINE, sau đó sẽ append ra thêm dòng mới là APPENDED FILE LINE với đoạn code sau
    //--------- Apend to file --------------
    File fileToAppend = SPIFFS.open("/test.txt", "a");

    if(!fileToAppend){
        Serial.println("There was an error opening the file for appending");
        return;
    }

    if(fileToAppend.println("APPENDED FILE LINE")){
        Serial.println("File content was appended");
    } else {
        Serial.println("File append failed");
    }

    fileToAppend.close();
Chương trình full
#include "FS.h"

void setup() {

  Serial.begin(115200);
  Serial.println();

  if (!SPIFFS.begin()) {
    Serial.println("An Error has occurred while mounting SPIFFS");
    return;
  }

  //--------- Write to file ---------------
  File fileToWrite = SPIFFS.open("/test.txt", "w");

  if (!fileToWrite) {
    Serial.println("There was an error opening the file for writing");
    return;
  }

  if (fileToWrite.println("ORIGINAL FILE LINE")) {
    Serial.println("File was written");
  } else {
    Serial.println("File write failed");
  }

  fileToWrite.close();

  //--------- Apend to file --------------
  File fileToAppend = SPIFFS.open("/test.txt", "a");

  if (!fileToAppend) {
    Serial.println("There was an error opening the file for appending");
    return;
  }

  if (fileToAppend.println("APPENDED FILE LINE")) {
    Serial.println("File content was appended");
  } else {
    Serial.println("File append failed");
  }

  fileToAppend.close();

  //---------- Read from file --------------
  File fileToRead = SPIFFS.open("/test.txt", "r");

  if (!fileToRead) {
    Serial.println("Failed to open file for reading");
    return;
  }

  Serial.println("File Content:");

  while (fileToRead.available()) {

    Serial.write(fileToRead.read());
  }

  fileToRead.close();
}

void loop() {}
Kết quả

Kết
Vậy là đã mô tả được cho anh em cách read, write và append thêm nội dung trong file với SPIFFS của ESP8266 rồi, giờ anh em có thể dùng nó để lưu bất kỳ gì mà ta muốn thôi
